January Garden Reflections and Planting Rose Seeds
Views: 1598
January – a time for garden reflection and planting rose seeds
January is often a time to reflect on one’s garden and prepare for the next growing season. It’s also the time when many hybridizers plant their seeds and germinations begin. Earlier this month (January 9th) was the day that I planted my rose seeds and started my version of my garden for the 2021 growing season. This is a little earlier than I usually plant my seeds. I usually plant them mid- to late-February, and I have found by then that many of the seeds have already started germinating in the refrigerator. Sometimes the young roots and shoots of these cotyledons have already started intertwining with the coffee filters that I stratify them in (which makes quite the mess to untangle). When this happens, I wish that I had planted my seeds a little earlier. This year I was able to avoid this mess by doing just that.
2021 – A new beginning
A realization has also awakened within me that a new beginning is upon us – not only with my baby roses, but a new year filled with life-saving vaccines (along with a hopeful return to a “normal” way of life). Hours before I planted my seeds, I attended my first Zoom presentation with the Connecticut Rose Society. The speaker did a great presentation about art and roses. Motivated by her presentation and seeing the other attending members during the meeting, not only did it motivate me to plant my seeds, but I dusted off the old Macintosh a few days later and started getting enthused about the Consulting Rosarians in the Yankee District (as well as their future as Consulting Rosarians).
Along with my renewed interest in the future of the Consulting Rosarians, deep down I secretly hoped that at least one of my rose seeds germinated before I completed this month’s blog. I wanted to report that a new rose joined the world. Well, it happened! And, not only did one seed germinate, but four seeds germinated during the wee hours of January 16th/January 17th. In case you didn’t figure it out, my smile is wide and I couldn’t wait to grab a pen and paper to start writing about my new rose “babies.”
A couple of breeding lines I have
Among the four seeds that germinated, there were two different breeding lines that I have been working on. The first line is a line of roses that are through the work of the late Malcolm (Mike) Lowe of New Hampshire. Mike created a rose that was a cross of The Gift x Sweet Chariot that he named Abigail Adams Rose. A second line I’m working on is one that is descended from a curious rose called Metis. Metis is a cross between R. nitida x Thérèse Bugnet. It was created by H.F. Harp of the Morden Research Center in Canada.
A breeding line from Metis
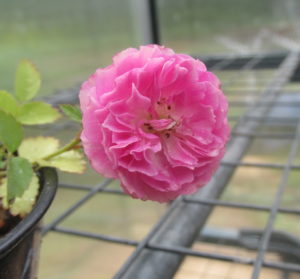
One seedling that I have is a five-petalled medium red open-pollenated seedling of Metis that I crossed with R. rugosa alba. My resulting second generation Metis seedling is a lighter shade of red that also has five petals but has a tinge of magenta to it. This rose has a fragrance that will knock your socks off. It has excellent disease resistance and is winter hardy.
However, she sends runners through the ground and is hard to keep in one place. She also doesn’t have much flower power and has massive amounts of prickles that will deter all but the most adventurous of rosarians. The most endearing quality of this seedling is that she occasionally does repeat bloom later in the season. I’ve had her for some 10+ years, and she creates many open-pollinated seeds that germinate well, but so far, she has refused to cooperate with other roses in my breeding program.
My experience
This past summer my seedling was, unfortunately, put in an out-of-the-way place and didn’t get watered regularly. She nearly died in the process. I’m trying to nurse her back to health as the potential is within her to introduce the seldom-used species, R. nitida, into the modern rose gene pool (if I can just pair her up to the right rose).
Since the seedling was in such poor health, I picked some open-pollinated hips on the dead branches last fall in an attempt to keep these unique genes from being lost forever. My past experience with seedlings through the Metis line has been that it takes some three/four years for the seedlings to mature enough to flower. For the many hybridizers who need results now and are not able to wait, this can be a problem. However, I don’t mind the wait if there are potential good results on the flip side.
Another breeding line – Abigail Adams Rose
Let’s face facts. The Abigail Adams Rose line of roses that I have created has been exploited by me quite extensively. I have germinated scads of open pollinated seeds through the years. With the sheer number of these seedlings that I have grown, why would I ever need to go and create any more? I will also admit that I’m not keen on the idea of getting any more small white/light pink open pollinated seedlings from Abigail Adams.
But, the seeds that I planted this year were from Abigail Adams’ dad, Sweet Chariot, bred by the late Ralph Moore. I germinated some open pollinated seeds from Sweet Chariot a half dozen years ago and noted that many were like the seedlings from Abigail Adams (although some had more coloring that tended towards the mauve shade with small blooms). Since then, I have lost these seedlings, but I am trying to recreate them.
Also, I think that there may be more to Sweet Chariot than a popular and fragrant miniature rose from a bygone era. I have noted that Christian Bedard has used it to create some fascinating roses. I even spoke with him about it a few years ago, when he gave a presentation at an ARS convention on his roses. The only way that I’m going to see where this breeding line leads me is by trial and error. My past experience from Sweet Chariot seedlings is that they either need to get to a reasonable size before they bloom, or are juvenile remontant. These juvenile blooms first start appearing May or June immediately following germination. I’ll post updates on my new “babies” as they progress.
Planting rose seeds
First I would like to state that there are as many different ways to plant rose seeds as there are hybridizers who plant them. I am constantly changing the way that I plant my seeds in quest of the “best” way. I know where my weak points are, and I’m taking strides to correct these shortfalls. Also, please be aware that my goals in hybridizing lean towards disease-resistance, sustainable roses and winter hardiness. I do love the high centered exhibition-style roses that abound throughout the rose-growing world. However, it is more important to me that the plants I create to have superior disease-resistance, be winter hardy in zone five, and have large quantities of blooms.
Your goals in hybridizing and creating new roses will (and should) differ than mine, and I’m 100% behind your efforts. You are chasing your dreams in hybridizing and you should follow these dreams as best as you can. Remember, there is no “wrong” way to enjoy any and all aspects of roses and growing them. There is only the “right” way for you and your abilities.
Getting ready to plant your seeds
By now, seeds in stratification should have had adequate time to stratify and be ready to join the world. I explained my method of stratification back a few blogs ago. As of January 9th, there were no seeds in my refrigerator that had germinated. However, I did see small rootlets starting to appear through cracks in some of the seeds. The first thing that I do when planting my seeds is to secure the necessary materials needed to plant them. The materials I use are a partitioned tray to plant the seeds in (standard 21″ x 11″ – 72 cells), a plastic basin to catch the excess water that usually accompanies these trays, some germinating media, a bowl to wet the germinating media, a plastic garbage bag to protect the work area, and a pen/pencil with pad to document which seeds are planted where.
Where I purchase my supplies
I do not usually go to the big box hardware stores to purchase my seed trays and germinating media. The big box stores tend to cater to the vegetable growers of the world. The items that they sell are designed to feed the plants that are created quickly and get them to size in a relatively short amount of time. Also, many vegetable species have tremendous germination rates that are close to 100% that rose hybridizers could only dream of achieving. Many roses have seed germination rates that are as low as 25%. It is not uncommon for a rose to have a 5% germination rate (and lower). It also sometimes takes a lot of time for these same seeds to germinate. Patience is key when germinating rose seeds.
I buy my supplies from the local grow stores that supply growing and greenhouse materials to hydroponic growers and people who grow medical therapeutics for our community. The knowledge of these suppliers (along with the quality of the merchandise) adequately suits my needs. It is usually the same (and many times superior) to that found in the big box stores without the extra (and unwanted) additives. The germinating media that I use is Pro-Mix®. There are other germinating mediums available, but I’ve had good luck with this product in the past half dozen years or so. Until I find something better, I will continue to use it.
Get ready
Next, I prepare an area to plant my seeds. I plant mine on the kitchen table with the plastic garbage bag laid out for me to work on. Then, I fill up my bowl about halfway with Pro-Mix®. I then wet it with the spray-hose attachment in the sink and knead the germinating media until thoroughly wet. Then, I wring out any excess water and place the germinating media in the cells of my seedling trays. I start at one corner of the tray. Then I work my way down sequentially until I have used most (but not all) of my wetted media.
It is important to know which corner you start at, as it is easy to get confused later on and not remember which corner is which. I usually mark the top of the tray with some type of marker. Sometimes, I clip the edge of the corner cell where I start with scissors to mark where I started to plant. I fill up these cells to about 3/4 full or until there is a 1/4″ gap to the top of the cells. It is important to leave this space, as it will be filled with additional media to cover the seeds once they are placed within. I then fill as many cells as I may think I need. The number of cells needed depends on the number of seeds that need to be planted, as well as the number of different crosses.
Time to get organized and start planting
Being organized can help out tremendously to help to document what seeds are planted where. This documentation continues throughout the lives of any seedlings that may be created. After the cells are filled and waiting for seeds, I open one of my bags with my seeds in it and take out one coffee filter package with the seeds inside. This package represents one cross that needs to be planted. I open up the filter and examine the condition of the seeds and note the pollen parent (if applicable). I then make a judgment call as to how many cells I will need for this cross. The number of cells needed is based on the number of seeds that need planting.
Instructions by Number of Seeds
If I have five or fewer, the answer is easy, I use one cell for that cross. I place all of the seeds in that one cell and cover them with 1/4″ of the leftover wetted germinating media. If I have more than five seeds, I divide the them equally between adjacent cells with no more than five per cell, and cover these seeds with 1/4″ of the wetted germinating media. I write down on my pad the cross that is planted and in which cell it is planted. I also records any additional cells that may contain the same cross. Please note that parentages of roses are listed as “Seed Parent” x “Pollen Parent” (without the quotes). When either is not known, “Unknown” is listed in its place.
I then continue with as many bags and as many crosses as needed. I add additional trays as required, until all of my seeds are planted. If I use additional trays, I number the trays and list the crosses planted in separate lists. I then clean up the area and return it to normal. I place my trays in an area that gets plenty of light and wait.
Okay, a seed germinated – now what?
When seeds germinate, I recommend transplanting them into small containers to start their journey to maturity. I have used fruit cups, plastic cat food containers, and plastic drinking cups as containers for these very young seedlings. I fill them with the same Pro-Mix® wetted medium that I used to germinate the seeds in. As soon as my seeds germinate, I take tweezers or a small knife and gently ease them out of the germinating media. I do not force them out. Instead, I poke a hole in the Pro-Mix® to place the newly germinated cotyledons in, and plant them at the same height they were at when they germinated. I try to transfer these cotyledons right after germination.
As seedlings grow, they send out small roots that start supplying nutrients and water. As these roots grow bigger and bigger, seedlings taken from their germinating media may lose their lifeline roots that supply these important nutrients, and have a chance of dying. I mark the containers with the crosses of the transferred roses. Then I place them in a well-lit area to grow and mature. These seedlings should be watered regularly and fertilizing can start when the seedlings get their first true set of leaves. I fertilize at 1/10th strength fertilizer used for indoor house plants. For more information on germinating seeds and raising seedlings, be sure to go to the Rose Hybridizers Association website for more information. Their Forum is a great place to ask questions of the experts.
How I’m trying to improve my methods
One area that I’m working to improve upon is my transplant survival rate of my very young seedlings and cotyledons. I experimented a little last year by keeping some newly germinated seedlings in the trays a little longer until they reached a large enough size (three/four sets of leaves). This is so that they would be stronger and survive when transplanted. It worked reasonably well, but the seedlings grew crowded in these confined spaces. If you only have one or two seeds from a particular cross in any one cell, this may be the way that works best for you.
This year, I have also added a new tray design that has 576 cells in it vs. the standard 72 cell trays that I normally use. When I used this tray this year, I planted one seed per cell. Any seeds that germinate will not have their roots tangled with other seedlings. The surrounding germinating media will also stay with that seedling. The roots shouldn’t be severed when transplanting. I will report on whether or not this is a good solution to my transplant problem in a future blog.
Epilogue
I originally composed this story with my black Waltham fountain pen that I used in previous blogs. I loaned the pen to my niece, and she did not like the way it acted/wrote. However, I know its limitations and am very comfortable using it. I’m glad I have it to use again, and I will continue to do so for many years to come.
By the time I finished this story (January 24th), the total number of germinations that occurred in my seedling trays reached over 60. Not too bad for a little over a two-week span. Hopefully my new babies will be forthcoming with fragrant, hardy and healthy seedlings. For those of you reading this blog who wish to create your own rose babies, I wish you good luck in achieving your dreams and reaching your hybridizing goals. Until next time . . .
Meet Andy Vanable
Andy's Recent Posts

The Rose-Growing World Loses an Icon – Bob Martin

Preparing Roses for Winter in November
Membership Has Its Perks

- Ask The Expert Questions
- Newsletter Archive
- PlantersPlace Magazine
- Members Photo Gallery
- Product Ratings & Reviews
- Garden Club Samples
More information about flower gardening that you’re going to want

Flower Gardening Videos

Got a Flower Gardening Question?
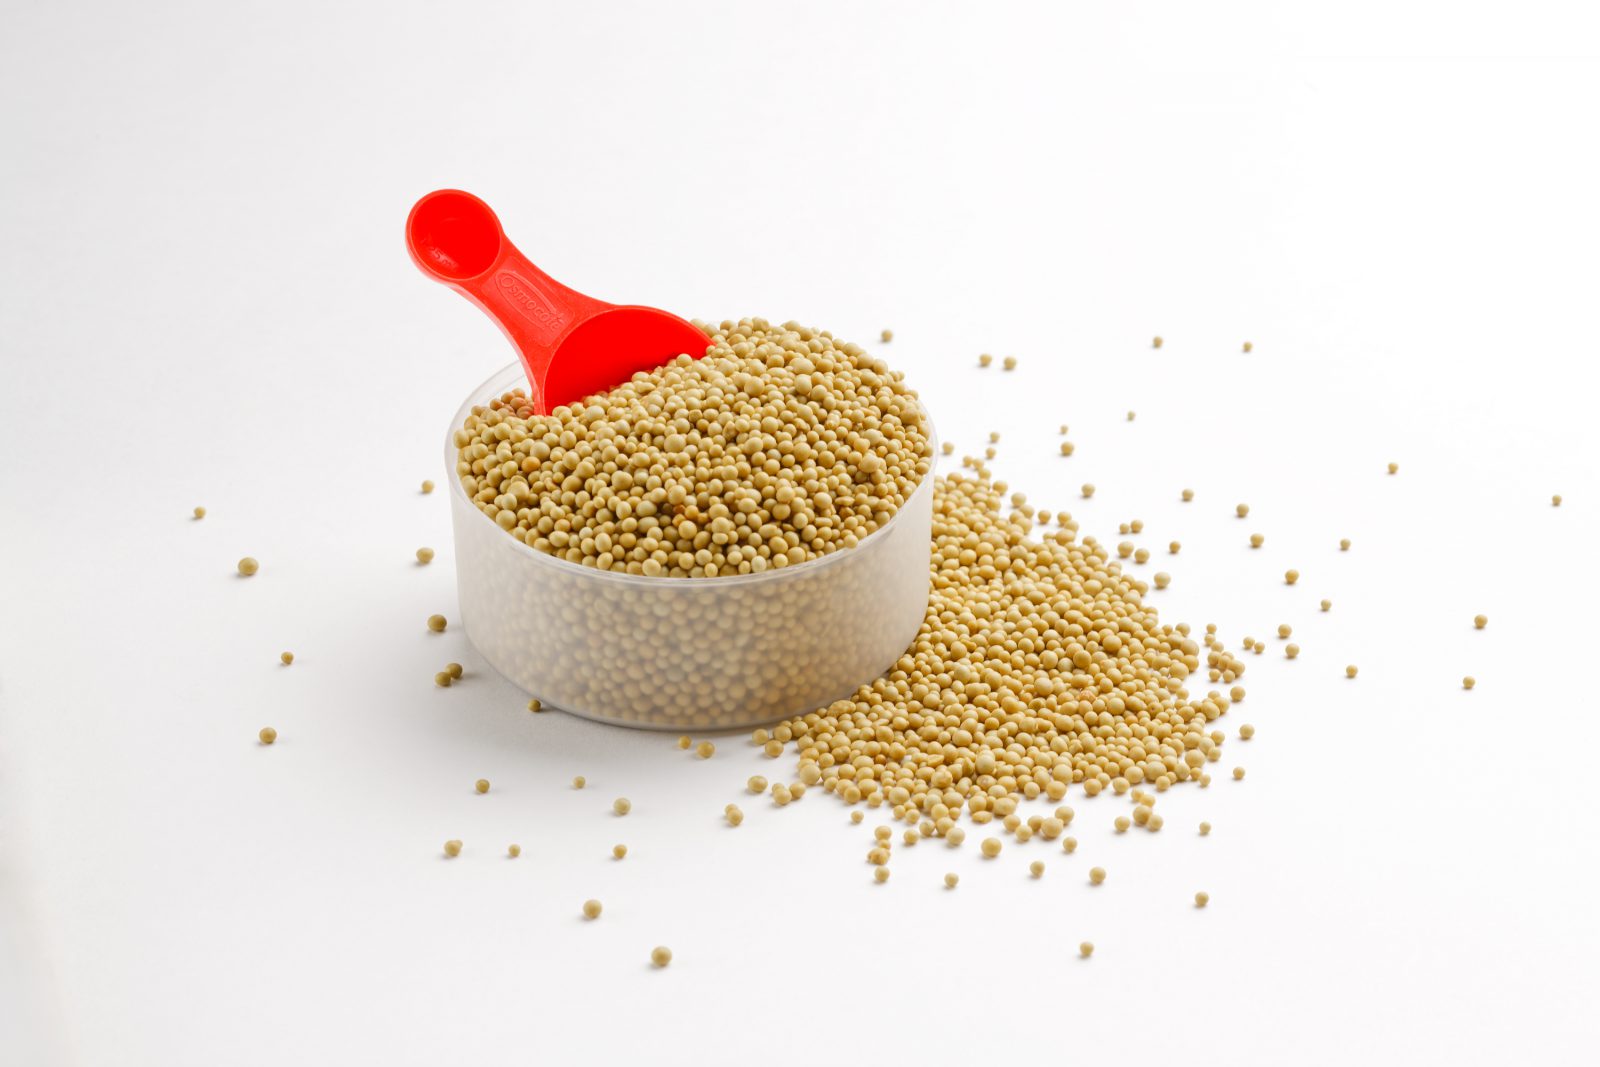
Learn About Osmocote Products