Seed Starting Part 2: When You Sow
Views: 440

In a previous post on starting seeds I discussed how to prep for the seed-starting process. Now that you’ve gathered your clean containers and your seed-starting mix, let’s move on to what to do when you actually sow those seeds.
Read Your Seed Packet
Seed packets are invaluable pieces of information. They may have a pretty photograph of the veggie you want to grow, or they may be artfully illustrated with a rendering of the crop. Some, like the ones from Hudson Valley Seed. No matter what lures you to your seed purchase on the front of the envelope, the information on the rear may be the important part of the packet. It typically contains info about:
- What months to plant (the best packets present this as cold-winter and mild-winter climates)
- How many weeks before last frost
- How deep to sow
- Seed spacing
- Transplant spacing for final crop
- Days to harvest
These are the fundamentals for sowing seeds. You will need to know what type of winter your region experiences (what’s the heaviest jacket you wear in winter?) and your region’s average date for experiencing a final frost in spring (if that is even applicable for you). When you read the packets before sowing, you’ll realize that sowing seeds for your whole garden is likely not something you finish on one weekend in late winter. I recently read a packet the day I planned to sow the seeds and it advised to place the packet in the freezer for three weeks before sowing. Read the seed packet!
Soil
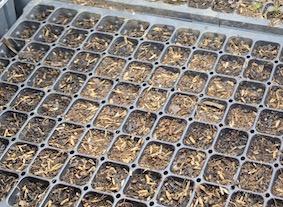
When you open your bag of seed-starting mix it will feel moist. Moisten the mix first. Estimate how much mix you’ll need for filling your pots, place it in a big bowl and then sprinkle in some water. Not a lot, not a little. Hand mix to get a feel for whether the mix is staying firm when gently squeezed, but not forming solid clumps. Fill your pots or containers to just a pinky nail’s depth below the rim and then lightly bang the container on the surface to settle the mix down.
Sowing Your Seeds
Sow as directed on the packet! Simple as that. If it’s lettuce or greens, I sow half the packet one week and the rest in a week or two. I do this so I am not swamped with a lettuce harvest all at once. Spritz the soil surface with water and place under lights or in a sunny window. Some seed-starting kits have a clear plastic dome to place on top. This helps increase warmth and humidity. Add a label to your pots to remember what you’ve planted and when. Keep the packets for reference. And keep a keen eye on what’s happening in the pot. Germination is fascinating!
In Part 3 I’ll talk about what to do during that time between germination and when they can head outside.
Meet Ellen Wells
When you’re raised on a farm, you can’t help but know a thing or two about gardening. Ellen Wells is our expert on edible gardening.…


