Seed Starting for the 2020 Growing Season
Views: 749

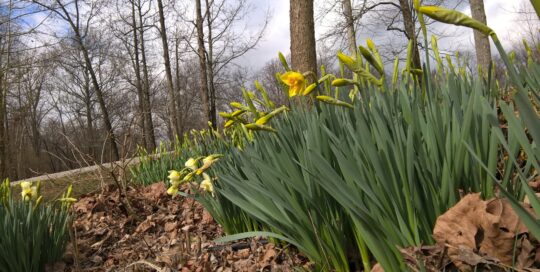
All right then, the Christmas decorations are put away; all of the cookies have been consumed, the daffodils are coming up, Phil the groundhog has had his moment of celebrity for the year and the days are definitely getting longer. Still, there’s at least four to six weeks to wait before I can start seeds indoors.
April 15 is the average date for the last expected frost in Zone 6, but one item high on my “To-Do” list was to clean out and organize my seed starting equipment. Admittedly, I’m still a newbie at starting seeds, with a lot to learn and I take it very seriously! Besides, even if the seeds don’t do too well, at least it gives me something to do while I’m waiting for spring.
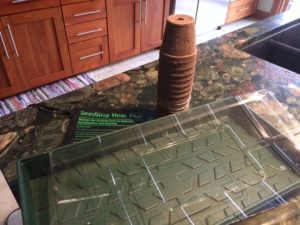
I use one of those wheeled shelving units to keep all my seed starting stuff. There are two shelves that have shop lights hanging above them where I (try) to grow seedlings and the remainder of the shelves are for supplies. This last weekend, I took every item off the shelves; wiped the shelves down and sorted my supplies.
Well-prepared?
As I worked, I came to an inescapable conclusion: I am a hoarder. There were two empty plastic milk jugs, two empty plastic orange juice containers; assorted empty cottage cheese and yogurt containers; several “to-go” boxes, empty and washed (thank goodness!). There were even three packs of carrot seeds with a “use by” date of 2012 and a scrap of used wax paper…what was I thinking?
It was amazing how much open space there was after I recycled / disposed of my hoard. Then I remembered that I’d moved all the seed flats and empty pots to the kitchen for cleaning. So much for extra space… Any seed starting primer will tell you to make certain all your seed starting flats, containers and tools are sanitized with a bleach solution (usually 1-part bleach to 10 parts water). This is to prevent “damping off” – a fungus which infects the seedlings and quickly kills them. One day, the seedlings will look green and happy, the next day they are wilted and flopped over. There’s no cure for damping off, but good sanitation and ventilation will help prevent it.
Gardening indoors
In addition to using clean, sanitized pots, make certain the soil you use is sterile. Don’t recycle used potting soil or try to use your outdoor garden soil – buy new seed starting soil. It’s not expensive and is made specially to help your little babies germinate and grow.
Since I get just a little O.C.D. about gardening, I’ve invested in heat pads which raise the soil temperature in my seedling flats about 10 degrees over room temperature. This gentle heat will speed germination, which is good because I always get impatient – even anxious – if the seedlings take a while to appear.
The third essential item for starting seeds indoors is grow lights; the amount and strength of the sunlight on your windowsill just won’t do the job – trust me on this! I use LED shop lights which are way less expensive than grow lights but are completely adequate – your seedlings won’t know the difference. Besides lasting much longer than fluorescent tubes and being much more energy efficient, LED lights don’t get hot and scorch your seedlings if they grow too close.
One mistake I made last year was to buy a shop light with a single LED tube. The single tube light was too narrow and there wasn’t enough light. The seedlings under it were pale, leggy and leaned in toward the light. This year, I’ll buy a second single tube shop light and hang it alongside the first one. That should make the babies happy. I’m also thinking about draping aluminum foil along the outsides of the shelves, with the shiny side facing the seedlings. Maybe that will provide some additional light and help them grow straight and strong?
Best of luck with your seeds and remember…
Stay Green, Good Friends!
Meet Dona Bergman
Dona Bergman is a founding member, Southwest Indiana Chapter of the Indiana Native Plant & Wildlife Society, and an Advanced Master Gardener.


