Forcing Bulbs
By Kate Copsey
Each fall, the stores and online sites are full of bulbs for spring. It is too easy to place a few orders, buy a few bags, put them down to plant later and then forget about them. For those in the north, if the ground is not frozen, you can still plant the bulbs all the way through to New Year. In the south, where winter chill is short, you have to wait until the first hard frost has occurred. The ground should be cool enough for bulbs, which could be as late as New Year. Picking bulbs that need low chill, or no chill time is a better option for growing bulbs in these areas. Whether you forget the bulbs or not, there is always a case for forcing a few bulbs for late winter. Later, you can plant them in layers in containers for early displays. Bulbs in containers outside do get slightly colder than those planted in the ground. It’s worth noting for borderline areas where the ground rarely freezes below the surface.
Storing Bulbs for Forcing:
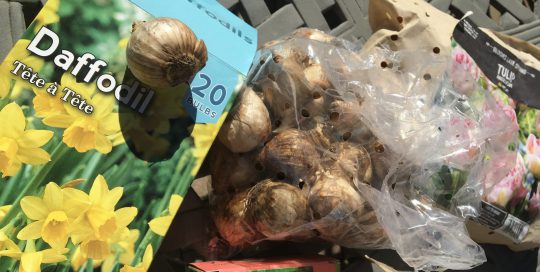
In cold ground, spring bulbs stay dormant until spring sun warms the soil and starts a new growth cycle for the bulbs. If it is too warm to plant the bulbs for them to stay dormant, the back of a fridge or a cool, dry basement are good places to store your bulbs. If you are in a cold region, you can dig the bulbs from the ground before the ground freezes. Alternatively, keep a few back and store to force when you are ready. Most common bulbs – crocus, daffodils and tulips – do need chilling time. This is regarded as the number of days below 45⁰f. Most refrigerators hold the food at 38-40 degrees. A wine fridge are closer to 44⁰. Old garage beverage fridges are also popular fridges to use for holding bulbs until planting time.
Timing:
Keeping the bulbs dormant is only part of the battle of forcing the bulbs. You want them to start growing and produce a bloom while the snow is still flying outside. Bulbs should be kept dormant for at least 6 weeks unless your supplier has already pre-chilled the bulbs for you. Once dormancy is completed, the bulbs can be brought out to start the growing phase. The amount of time for the bulb to grow and put out a flower is determined by the species. Little crocus take just a few weeks, while large daffodils take longer.
If you want your bulbs for a specific date – such as a birthday in January, take that as a target date for your bulbs to flower. Count back from that date about 4 weeks for growing and 6 weeks for dormancy and start your bulbs around that time – October/November. For a basic display in winter months you will still need the 10 weeks. You have a little wiggle room for when to start. Note that bulb size and variety can add or detract a few days to a week, so be ready for some adjustments in timing.
Planting the Bulbs:
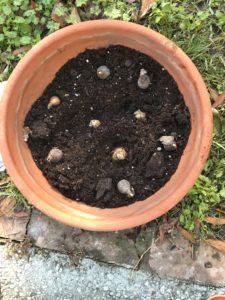
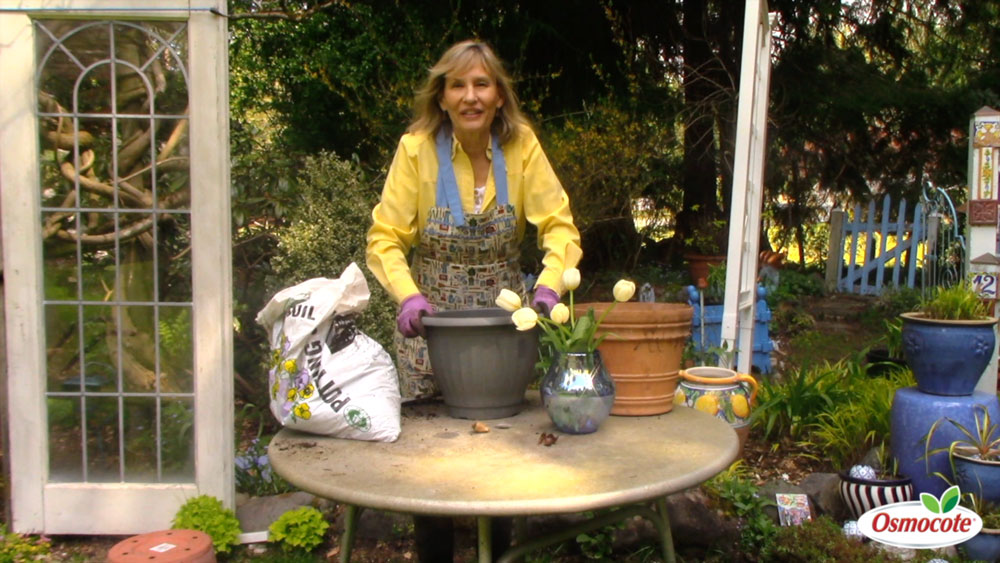
Planting the bulbs in a container is just like planting in the ground as regards depth to plant. Depending on the bulb, this could be as deep as 4-6 inches for daffodils. Early, little daffodils only need a few inches of depth so work well in shallow dishes. Use fresh container mix from the store or from your garage. In very cold areas, make sure that your bag of container mix has been put into the garage or other frost-free area before winter chill freezes it.
Remove the bulbs from cold storage and put a layer of container mix at the base of the container. Put the bulbs in an attractive pattern on the mix, then cover with more container mix. Water the bulbs well and place in a cool, light area to break dormancy. A bowl of dormant bulbs under the soil is not an attractive addition to the dining table, so keep the bulbs arrangement in a cool bedroom or utility area until they are almost in bloom.
Growing the Bulbs:
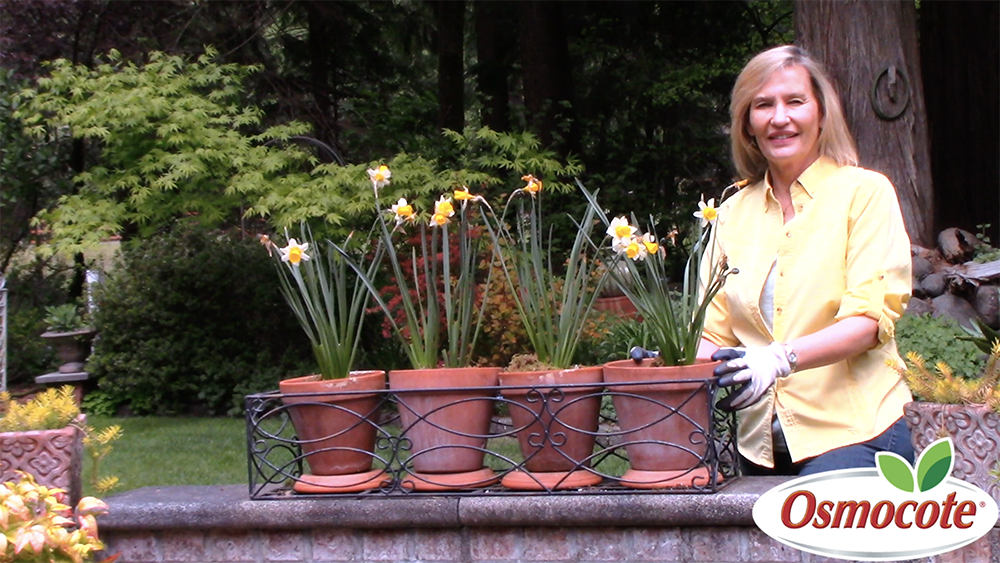
Once planted, the bulbs should break dormancy in just a few weeks and start to grow. Keep the bulbs moist but not wet and make sure your container has adequate drainage so that the bulbs do not rot. Make sure to feed with plant food. Once the bulbs are growing, they need the same full sun as outside such as a sunny windowsill. The best growing temperature for bulbs is similar to great spring weather i.e. around 60⁰f . Once the flower has set and the bloom is coming out, a warmer room is fine.
Layering Bulbs for a Longer Display:
Bulbs for layering in containers can be forced indoors or left outside in a container for you to look at. The premise for the display is that smaller bulbs, like crocus, break dormancy before larger daffodils and by planting the bulbs at different depths, all together, the will bloom at different times giving a long display.
To start the display: The container should be wide enough to hold about a dozen bulbs and deep enough to bury the bulbs. Fill the container to about 1/3 its depth. Assemble your bulbs and divide into early mid and late blooming. The bulbs can be mixed up but generally the smaller, early bulbs are planted toward the outside of the container, while the larger, later bulbs fill the center. This way the taller bulb growth does not block the beauty of the smaller bulbs already in bloom.
Put the larger bulbs in the container first. Cover with 2-3 inches (6-8cm) of container mix and plant the next, mid-season bulbs. Next, cover these again and plant the early bulbs. Finally, cover with a final layer of mix. You should now have the larger bulbs 3-6 inches (10-15cm) down. Next layer at about 3-4 inches (8-10cm) down. The final layer just 2-3 inches(6-8cm) down. If this is done outside where the container will grow, you are finished – nature will take care of the watering and the chilling so that your bulbs will break dormancy on the usual schedule. For indoor containers, take the container into a cool but light room until the first bulbs start to show a flower forming. Although these containers are generally too big for a table, they do work well in double story lobbies and 4-season rooms.
Small Bulbs:
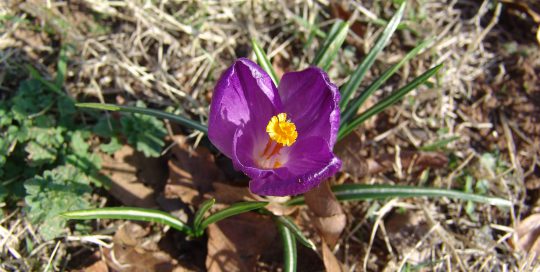
Most of the earliest bulbs are less than an inch in depth (5 cm). Select crocus, miniature daffodils, scillia, Emperor tulips, miniature hyacinth and small iris. Outside, these little bulbs erupt through cracks in soil that is still too hard to dig in. They can tolerate frost and snow and because they are close to the ground level, they are successful in the south as well as further north. These bulbs take about 2 months of chilling and about 3 weeks to bloom.
Mid height bulbs: Mid-season daffodils, early tulips and scented hyacinths are the most common of these bulbs. The bulbs are 1-1.5(5-8 cm) inches across and are correspondingly planted a little deeper than the small bulbs. These bulbs need about 10-12 weeks chilling and take a little over a month to bloom.
Late season bulbs are the largest and tend to be too large for indoor forcing but do well outside in the center of a layer arrangement. These are the daffodils that rise 2-feet (50cm) or so outside and do not do well outside, in the south. Tulips start later than the earliest bulbs and can be as tall as some of the daffodils. These bulbs need longer chilling time – up to about 3 months for some. They also take longer to break dormancy and over a month to flower.

Professionals:
Professionals play with the temperatures to hold or advance the bulbs. You can adjust the timing if you have a special occasion that you want the forced display for. If the bulbs come out of dormancy a week or two early, put them back in the cold fridge for a few days to retard the growth. If the bulbs are looking like they are taking too long, bring them out of the cool 60⁰ room and place in a warmer room to hasten development.
Growing bulbs in container and forcing them into bloom in the middle of January is a great way to keep the thumb green during long, or short, winters.
A great comprehensive book on forcing bulbs is Bulb Forcing for beginners and the seriously smitten by Art Wolk : 2012. Art displays his award-winning blooms at the Philadelphia Flower Show.
Related Featured Articles
Related Videos
Related Blogs
Here’s more information about gardening that you’re going to want

Watch a Gardening Video

Learn About Osmocote Products
Read a Gardening Blog