This article tells you how to make caramelized onions.
That’s because I love making delicious food. But, sometimes a fancy meal just isn’t in the cards for the evening. Understanding that sometimes those days will happen, I like to prep some basics ahead of time and keep them close to hand in the freezer. These preparations give high-flavor results that serve as stepping-stones for future dishes, making delicious food easy and convenient. I’ve heard such preparations referred to as “flavor-bombs,” and I like the phrase enough to stick with that.
One of my favorite flavor-bombs is caramelized onion. Caramelizing onions adds a ton of flavor and is quite customizable, giving you a go-to condiment right from your freezer. Caramelizing onions is a deceptively simple process:
Cut onions, cook in butter on low until brown, freeze leftovers. But, as with much of art in this world, the majesty of the end result depends on the details.
But first: why do onions make us cry?
Onions are a living plant. Like most living things, they have developed defenses against predators. In this case, that’s us. When the onion’s cell walls are damaged — as they are when you cut the onion — a certain molecule in the cell (sulfenic acid) and a certain protein in a different part of the cell (alliinase) combine and make a chemical that irritates our eyes (lachrymatory factor, or LF). Bam — onion tear gas.
How to make caramelized onions: selecting the onions
As cooks, we often talk about adding “an onion” to a recipe, as if any variety of onion will taste and act the same as any other onion. This is, of course, not true. While we could easily dedicate a whole series of articles on which onions to use for what, just know that for this technique, yellow onions or sweet onions, like Walla Wallas, are your best bet.*
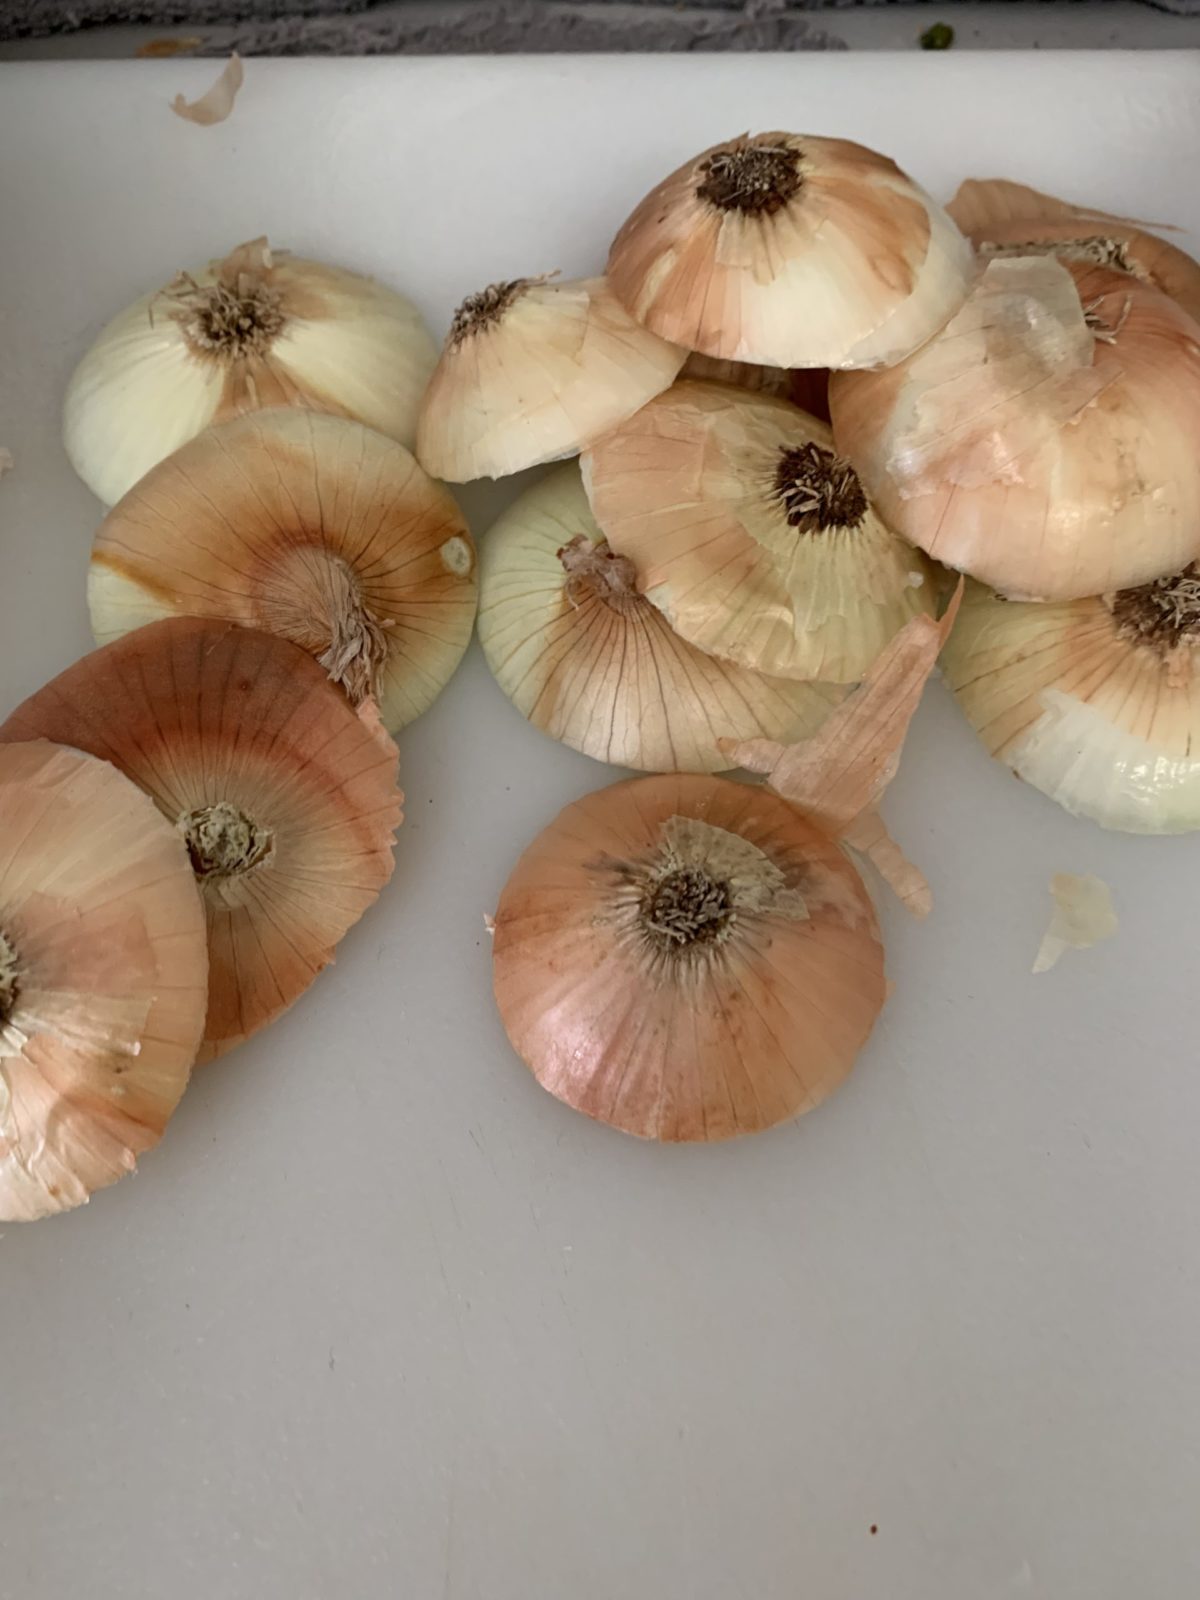
*Unless, of course, purple onions are your best bet. It really depends on what you plan to use them for. Purple onions deglazed with red wine and some added thyme sprigs can make a truly delightful condiment; more on that in the next section. A mix of onion types and flavors is also really fun. Play around and see which types of onions work best for your cooking style and tastes.
How to make caramelized onions: making the cut
Thus, cutting onions is not a kitchen chore with a particularly pleasant reputation. Both the taste of the finished product and the tears shed to get there are affected by the cutting method.
1) Use a sharp knife. The bite from the onion comes from the substances inside the cell walls. When those walls are smashed by a dull knife, there is a lot of damage and more chemicals are released. Sliced cleanly, there is less damage — and usually, fewer tears.
2) Direction matters . The same substances that make you cry also give onions their signature sharp flavor. If you want a stronger, sharper taste, cut against the grain, or, through the middle. (This breaks more cell walls.) If you want a milder taste, cut end-to-end.
3) Leave the root intact . There is a higher concentration of tear-producing chemicals at the root end of the onion. Leaving the root end intact also helps keep the onion together while you slice. Slice the onion in half from the stem end to the root, then immediately put the cut-side down. Cut off the stem end, then slice the onion starting a little above the root, leaving the slices connected. When you are done cutting that half of the onion, cut the root off. Don’t throw the root out; it has incredible flavor, so save it for stock.
Some people like to chill the onions for a few hours or overnight in the fridge to reduce the sting. I find that it changes the flavor too much for my liking, but if you are particularly sensitive to onions, it may be worth trying out.
How to make caramelized onions: cooking in butter, lots of butter
I like using butter for caramelizing onions, about 1 tablespoon per 2 or 3 onions. I find it gives a nutty, deep flavor that I really enjoy. If butter isn’t your thing, you can use vegetable, coconut, or olive oil (I avoid extra-virgin in most cooking, but this is low enough heat that it should be fine). Make sure you start with a lot of onion, as they will cook down pretty far. The exact difference is hard to predict because there are a ton of factors that contribute to volume reduction.
I usually plan on ending up with about ⅓ of the volume I started with. As the onions cook, you’ll notice brown bits forming on the bottom of your pan. This brown filmy layer is called fond , and it is delicious! Add a bit of liquid to the pot (about a tablespoon) so you can scrape up the fond and incorporate it back into the onions. Do this often, so the onions don’t burn. This process of adding liquid to the pan and scraping the fond is called deglazing . Wooden spoons or silicone spatulas work great for this. This is a great way to maximize flavor. Perhaps more importantly, scraping and incorporating fond before it burns makes it much easier to clean your pan afterward and prevents getting burned bits in your caramelized onions.
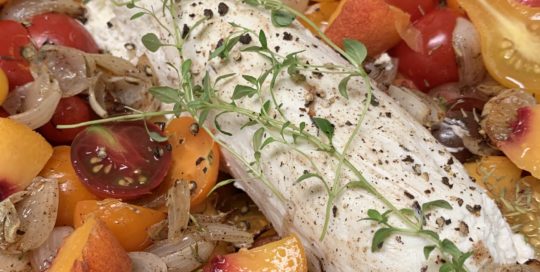
Try deglazing your pan with veggie stock, white or red wine, or other liquid whose flavor compliments your dish. Try purple onions and red wine, as mentioned before, to pair with pork. White onions with veggie stock or lemon go great with fish, and a deeply caramelized yellow onion deglazed with a little beer (even zero-proof beer) is an excellent condiment for a cookout.
How to make caramelized onions: the low-down on cooking on low
In the age of the Instant Pot and kitchen hacks, it’s tempting to try and shave off time in every kitchen project. I’m all about saving time — but not when I’m caramelizing onions. There really isn’t a short-cut here.
Melt the butter on medium-high to start, then add onions and cook for 1–2 minutes. Then, put the onions on low heat to fully develop flavor. Don’t try to increase the heat to get them to cook faster; you’ll lose out on the depth and complexity caramelized onions offer! The whole process can take me anywhere from 45 minutes to 2 hours, depending on how dark I want my onions. To save me time overall, I make large batches, using multiple pots at once. (I keep my kitchen well-ventilated for this!)
Let me emphasize this next point: While you don’t have to stand over the pot the whole time, this is also not a time to go into the other room and catch up on your latest Netflix binge. Stay by your onions! Watching and stirring every few minutes will ensure they don’t burn and that you get the level of caramelization you want.
How to make caramelized onions: simmer until brown
As the onions cook, their chemical makeup changes. They get sweeter and softer, and the flavor deepens. How dark you want to cook them generally depends on what you plan to do with them, but it’s really up to you. “Blonde” onions are lightly caramelized, a light golden-brown, with a bit of onion bite left. I like them in vinaigrettes and warm salads.
Golden-brown onions, with a deep golden color and gloss, are my favorite all-purpose caramelized onion. They take about an hour, maybe a little more. Fantastic flavor, and great for French onion soup. This is usually the result I aim for. Deeply caramelized onions get very dark brown and have a slightly jammy texture. If you choose to cook them this long, remember to use liquid to deglaze and watch them carefully and stir often to prevent burning. This becomes a great condiment at a cook-ou
Freeze leftovers … if there are any
Caramelized onions freeze very well. You can freeze them in ice cubes if that works for you. I like to freeze them in quart-size freezer bags laying flat, then when they are frozen solid, stand them upright in my freezer. This saves on storage space and thawing time, and makes it easier to use only what I need for a particular recipe. You’ll find the technique similar to freezing herbs in oil .
Summary:
Cut onions; cook in butter on low until brown. Freeze leftovers.
1) Gather onions; you’ll need 3x the amount raw onion than caramelized (if you want 1 cup caramelized onions, you’ll need to start with 3 cups raw onion slices, or about 2 large onions).
2) Cut onions, either pole-to-pole (leaving the root end intact if desired) or cross-grain.
3) Place onions and butter or other preferred oil in a pot, about 1 tablespoon of oil or butter per 2–3 onions. Heat on medium-high and cook for 2 minutes.
4) Turn heat down to low. Cook onions, stirring occasionally and deglazing as necessary, 35–90+ minutes, or until desired color and flavor are reached. As onions get darker, stir more frequently.
5) Store in a covered container in the fridge for about a week or freeze using this technique .