Right now, I’m harvesting big bowls of potatoes—mostly purple, red and yellow spuds that I’ll roast, boil, fry, bake or mash with garlic and butter. If you haven’t grown potatoes before, put it on your gardening bucket list. Homegrown potatoes have an incredible flavor. Once you try them, you’ll be hooked.
Unusual Potatoes to Grow
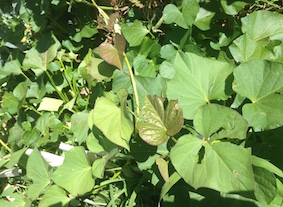
Among our favorites are the French fingerlings, long slender potatoes that command big bucks in stores and at farmers’ markets. Rather than grow common varieties, such as red-skinned or baking potatoes that you can buy anywhere, I look for unusual ones like Purple Viking, which has dark purple skin and pure white flesh. German Butterball is a creamy golden yellow and there are many others that add great taste and color to a meal. We also grow Purple Majesty and Magic Molly, oblong tubers with purple skin and violet flesh that are as tasty as they are unique.
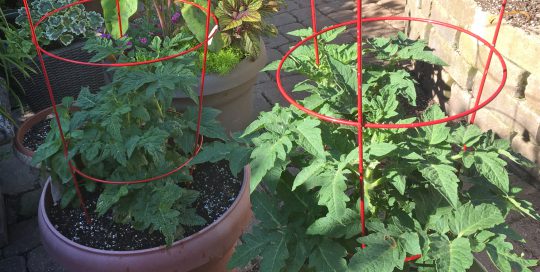
If you have a spot in your garden that gets at least six to eight hours of direct sun in the summer, you can grow potatoes. They grow just fine in large 15-gallon pots, fiber planting bags, raised beds, and in trenches. Plant five pounds of “seed” (small) potatoes in spring and you can harvest between 40 to 50 pounds of tubers by late summer. Standard potatoes yield about 10 times what you plant in spring, while fingerling potatoes yield from 15 to 20 times the amount planted.
Getting Started
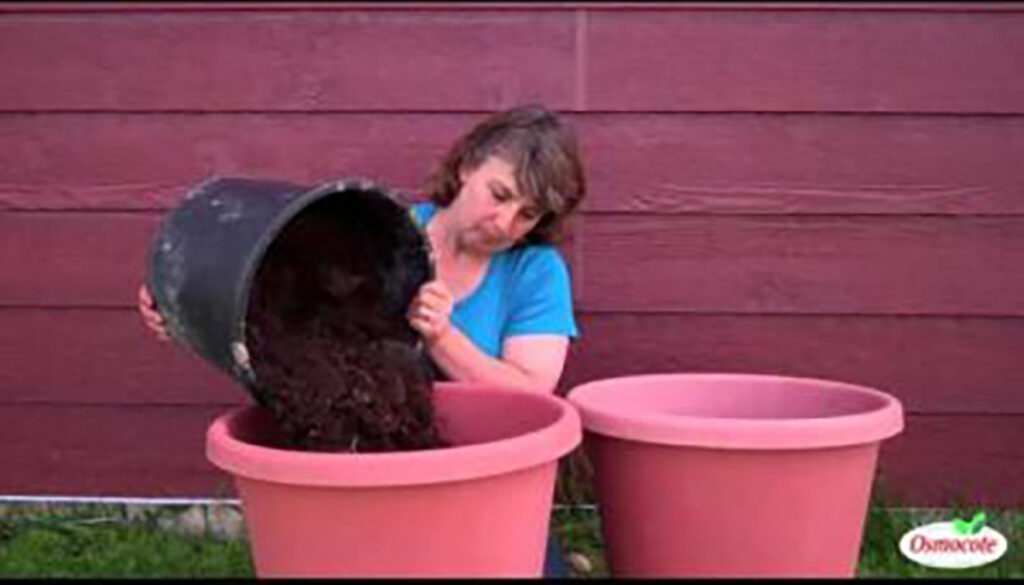
Late summer and early fall are good times to prepare the vegetable garden for spring potato planting. They grow best in fertile, well-drained soil. I add compost, finely chopped leaves, and other organic amendments to “lighten” our soil, which has a lot of clay. I also grow potatoes in pots filled with a soil-less potting mix intended for vegetables.
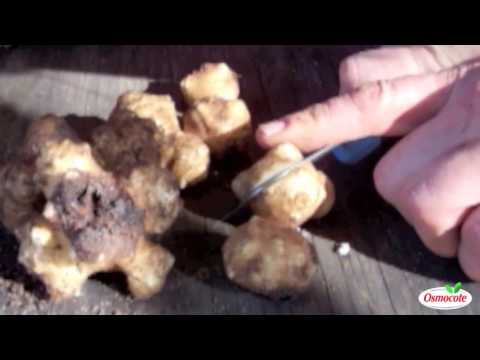
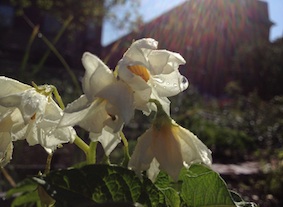
After the danger of spring frost has passed, I start planting “seed” potatoes–small tubers with “eyes” that sprout leaves. If you’ve ever had an old potato that sprouted, that sprout of leaves comes from the eye. Many garden centers sell bags of seed potatoes. Small tubers can be planted whole, but I cut the larger tubers into small pieces so that each one has at least one or two eyes. The cut seed potatoes dry for a few days before we plant them. Buy them locally in early spring or order them online. Don’t use grocery store potatoes—you’re better off buying seed potatoes that are certified as disease-free.
Planting Methods
Potatoes need plenty of room to set down roots, send up leaves and create more tubers throughout the summer. If you’re planting in pot or a fiber grow bag, choose one that holds at least 15 gallons of potting mix. Fiber grow bags allow excess water to run out but other pots must have drainage holes. I put about four inches of soil-less potting mix in the bottom of the pot and set 6 seed potato pieces on top with the eyes facing up. Next, I cover them with another 2 inches of soil-less potting mix and then water the pot. When the leaves are 6 to 8 inches tall, I add another inch or two of potting mix and continue doing this throughout the summer. This provides room for developing potatoes. By the end of the growing season, the pot is filled with potting mix and tubers.
You can also grow potatoes in trenches. After digging a long trench about 12 to 18 inches deep, I set the seed pieces in the bottom of the trench about 12 inches apart, in rows 30 to 36 inches apart. Cover the seed potatoes with 2 to 3 inches of soil. Leaves emerge about two weeks later. When the leaves are 6 to 8 inches tall, we “hill” them by mounding soil from each side of the trench about 4 inches high along the base of the plants. Repeat the hilling process as plants grow. This method protects the tubers from turning green (which is toxic) and provides plenty of soil as the tubers grow. Leaves, straw or hay can be used to mulch the plants. This helps conserve moisture and prevent weeds.
Potato Pests
The best disease control is providing fertile soil and consistent moisture (water every 7 to 10 days if you don’t get adequate rainfall) and rotating the crops each year. If you grow potatoes in the ground or in raised beds, try to plant them elsewhere in your garden the following year. We do this because potato beetles and diseases can overwinter in the soil.
Row covers are a great defense against insects. They let in sunlight and water but they exclude insect pests such as Colorado potato beetles, aphids and leafhoppers. Lightweight row covers are available in many garden centers and by mail order. I frequently check the undersides of the leaves for yellow-orange eggs of potato beetles and crush them.
Harvest
You can harvest young or “new” potatoes any time after they reach a usable size (for early varieties, this is about 50 days after planting). When you spot the first flowers, you can start harvesting a few new potatoes.
When the leaves turn yellow or die down, I stop watering and leave the potatoes in the ground for two more weeks. This allows the tubers to “set” the potato skins for storage. To harvest all of the tubers, use a spading fork and gently lift the entire root system. Shake the excess soil from the tubers. For potatoes grown in pots or grow bags, tip them onto a tarp and lift out the tubers.
Brush loose soil off the skins and let them dry for a day or two and brush them once more. If you wash the soil off, there’s a chance the wet potatoes will rot when stored. Potatoes can turn green when exposed to light so keep them in a dry dark cool place. That’s if you don’t eat them all in a month!
Sources
Many local garden centers begin stocking seed potatoes in spring. You can also try the following mail-order sources:
Johnny’s Selected Seed
877-564-6697
Seed Savers Exchange
563-382-5990
Territorial Seed Co.
800-626-0866