Whether your soil is too rocky, too sandy, or has too much clay, raised garden beds are the answer. Once built you can improve the soil, reduce weed pressure, enjoy better results and even make the process of gardening easier.
What you’ll need to build a raised garden bed
Decades ago, when I bought my first place, one of my initial tasks was to build the garden. I picked the spot, jumped on the shovel, and teetered back and forth. Where I live, the glacial till, which is basically rock held together with a little duff, is not conducive to gardening. So, I popped the rocks out of the ground. Within several years I constructed 220 raised beds out of the native stone.
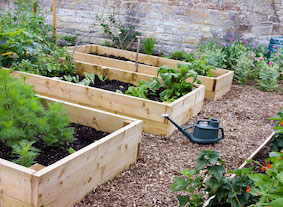
You can edge a raised bed with bricks, lumber, logs, or even plastic commercial kits. All perform well. I’ve even used an old metal stock tank. If you’re using lumber, opt for untreated options. Here in Montana, we use standard cheap pine. It lasts 5 years because we have low humidity. Use wood that doesn’t rot quickly.
Wood from cedar, Douglas fir, black locust, or redwood lasts the longest. If you do treat the wood with something to make it last longer, use linseed oil since it is non-toxic. Do not use railroad ties. While they make terrific beds, they are often treated with chemicals that can leach into the soil. That may either stunt plant growth or kill plants outright.
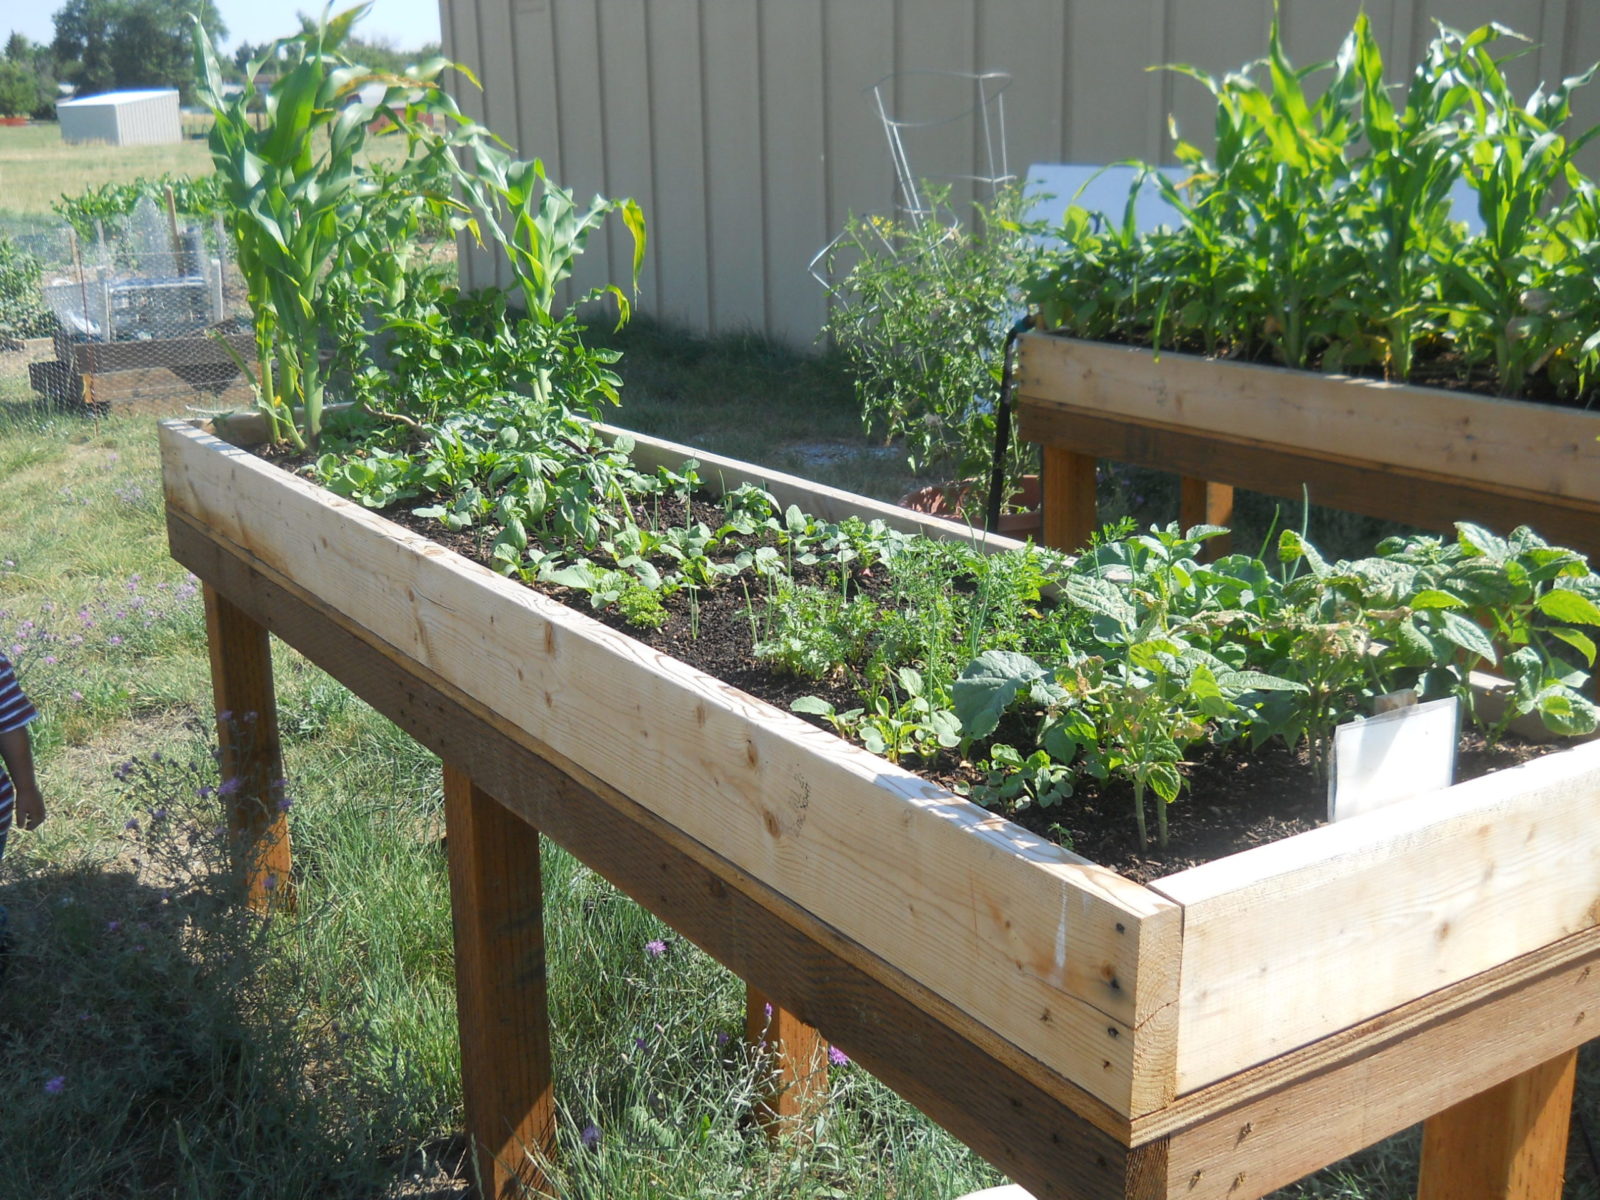
Raised garden bed – photo by Amy Grisak
Deciding how big a raised garden bed should be
The size of your raised bed needs to be what is most convenient for you. You never want to have to step inside the bed, nor do you want it so large that it takes a lot of extra time to walk around it.
The most efficient beds are typically 2-3 ft. wide and 6-12 ft. long. Once in a while, wider beds, no more than 4 ft across, are used to plant spreading crops, but you need to be able to reach to the center without kneeling inside of it, compressing the soil.
How to build a raised garden bed
If you use rocks or bricks it is as easy as stacking blocks. Stack whatever material you’re using at least 6 inches tall and as deep as you wish.
For lumber, a simple 6-inch deep bed is ideal. If you wish to create a deeper bed stack the lumber until you reach the depth desired. Whether you’re building one layer or two, brace the corners with either a 2×2 piece of wood cut to the height of the box, metal corner braces, or purchased corner braces specifically used to build raised beds where the ends of the lumber slip into each piece. If your beds are longer than 6 ft., you’ll also want to add wooden braces at the mid-way point to prevent the wood from bowing out. Whatever the depth of the bed, fill it with the best soil you can find.
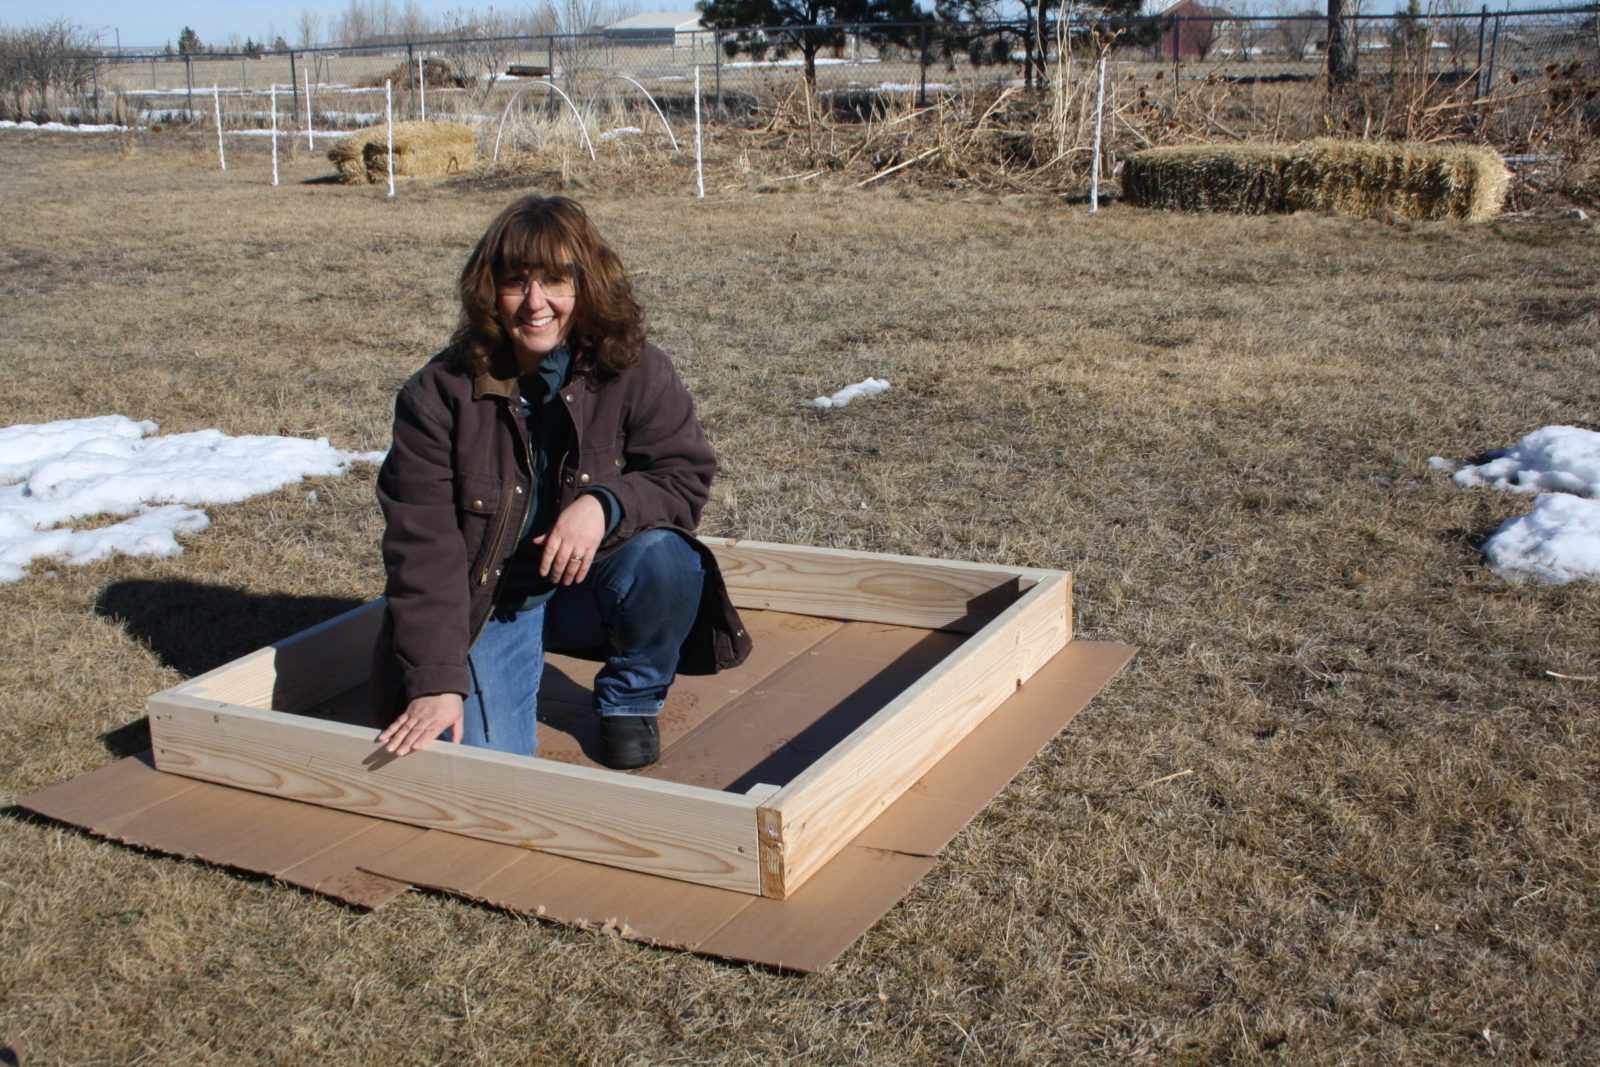
Building a raised garden bed – Photo by Amy Grisak
Setting up raised garden beds
Look for an area with over 8 hours of sunshine every day during the growing season.
Once you picked your space, place 6-8 layers of newspaper or cardboard on the ground to help smother out the grass, particularly between the bed and the lawn. It won’t grow through the bed, particularly if it is 12 inches deep or deeper, but for shallower beds, it helps to make sure it doesn’t add unwanted weeds to the garden.
For most of the raised beds, you’ll want to level out an area in order for the bed to be flat. The easiest way to do it is to use a single piece of lumber to set out the general shape. Dig a trench below whatever areas are higher to ensure the structure is level the entire way around. Once the bed is level all the way around, you can begin building.
Best fill materials for raised garden beds
Determining the soil to use to fill a bed is one of the great challenges. When I built my beds, I was fortunate in that I could order sandy loam by the dump truck load. It took 14 dump trucks to fill them all, but the plants thrived in the rich soil.
For home gardeners, a little planning is helpful. Using only potting soil or compost creates an imbalance in the system. If you can, use local bulk soil, as long as it is guaranteed to be weed free. There are also bagged garden soil options. Alternatively, make a mix of half compost and half coco coir or peat moss. If you use compost, look for different sources to optimize the nutrient balance. I suggest steer or chicken manure. Try to add plant based material if you can.
The other half should be coco coir, which lightens the soil while not messing with the pH so much, or peat moss. The later is less desirable because of environmental considerations. If that’s all you have (or you already have a bale sitting around), use it.
Improving the nutrient levels of raised garden beds
Soil nutrition isn’t something that happens overnight. Adding amendments such as eggshells or gypsum (to prevent blossom end rot), sulphur to counteract a high pH, or Azomite, a mineral supplement, can take months until they break down to where the plants can assimilate it. This is why boosting nutrients is an ongoing process.
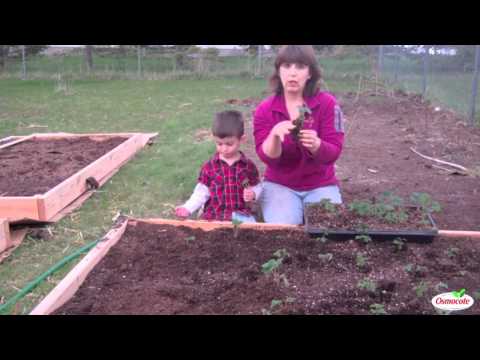
To ensure your plants have a healthy start from the beginning, feed them using a water-based fertilizer or a time-released product such as Osmocote. Work it into the soil around the plants when you plant in the spring. Use it again in the middle of the summer to carry through the rest of the season.
What to grow in a raised garden bed
From corn to pumpkins, there’s no limit to what you can grow in a raised bed. Even potatoes are possible, if you build a bed at least a foot deep. You’ll need to bury the spuds 6-inches deep in a trench and have enough room (and additional soil) to hill them.
Plant your vegetables in the same spacing as in a traditional in-ground garden, particularly if you have a shallow raised bed. If it’s deeper, there are more nutrients available to the plant, yet proper spacing also inhibits disease issues from overcrowding.
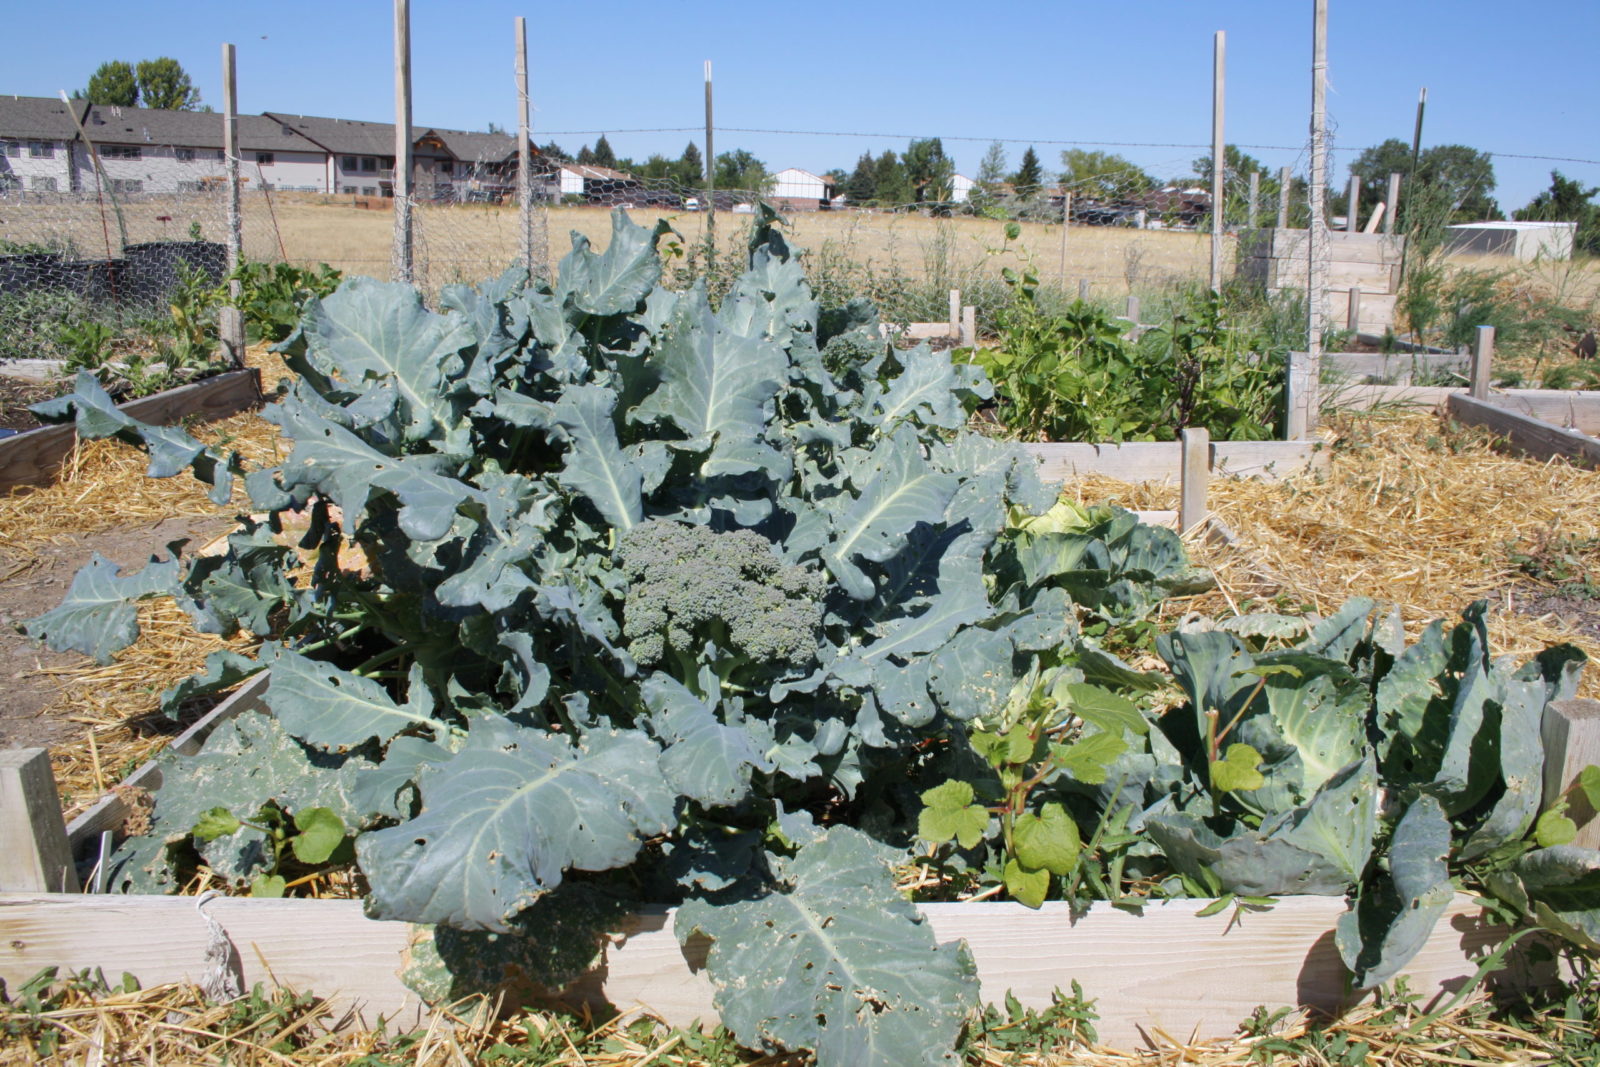
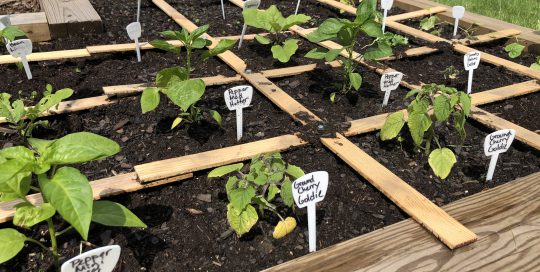
Raised garden bed – photo by Amy Grisak
For instance, determinate tomatoes should be roughly 18-24 inches apart, bush beans are 2-4 inches apart, give cabbage 9-12 inches, and so on. The biggest difference is you are not accounting for space between rows, since there is no reason to walk or run a rototiller, which ultimately makes a better use of space. Overall, raised beds are far more efficient.
Watering raised garden beds
In order to reduce soaking the lumber, as well as to make the most efficient use of supplemental watering, consider using soaker or drip hoses in the beds.
Soaker hoses are easy to set as they seep from the entire length of the hose. The ground is saturated in, around, and between the plants. This works well for vegetables such as carrots, beans, beets, and other crops growing close together. When plants are farther apart, some water is wasted, but it still is a better use than overhead watering.
Drip hoses with specific emitters attending to each plant can be very efficient. Water is sent directly to individual plants. Peppers, tomatoes, squash, cabbage, cauliflower, and eggplant all benefit from a more focused water source. I recommend emitters every 6-inches along the tubing. This works especially well when there are larger plants.
Weed and pest pressure
Because you’re starting with weed free soil any grass below the bed is covered deep enough to prevent it from growing through your bed. Raised beds are a lifesaver when it comes to reducing weeding time. With no perennial weeds from the git-go, and as long as you are diligent in preventing weeds, raised garden beds are easiest for upkeep.
Raised beds are helpful in minimizing the impact of pests as well since they often provide better ventilation between the plants. With a raised bed, it’s easy to keep a close eye on the soil and the plants to nip any infestation before it can do any real harm.
What to do with a raised garden bed in the fall
Clean-up is simple when the season is over. Remove dead plants in a vegetable or annual flower garden just as you would in any conventional garden. Perennials can be cut back or allowed to remain standing throughout the winter. They will provide a bit of interest to the landscape as well as seeds for the birds.
Fall is the best time to work amendments into the soil. Add compost, along with sulphur or lime (depending on your soil alkalinity level). It may be a good idea to add other mineral supplements. After spending a winter in a fallow garden, nutrients are easily used by the plants in the spring. Work you put into the garden in the fall pays off in the spring.
Although they require a bit of effort to build, gardening in raised beds brings a new level of convenience and efficiency to your garden. Build to your personal specifications and enjoy gardening on an entirely new level.

