As the Persephone Period from November to February wanes and the sun returns, many gardeners don’t want to wait until spring to begin the growing season. Fortunately, with a little extra protection and enough heat to ward off Jack Frost, it’s possible to grow greens and other cool season crops long before the garden soil warms.
A winter cold frame is the basic design of a standard cold frame but with insulated sidewalls and some sort of heat source. For those who wish to be precise, it’s technically a hotbed. Instead of using a heating cable running through the soil or adding fresh manure to create enough warmth to bump up the temperature inside, a single light bulb does the trick.
Winter cold frame construction guidelines
The key to a winter growing environment is keeping the cold at bay. That can be done by constructing a box that is impervious to the elements.
2 x 2 inch lumber is adequate for the frame, although 2 x 6 inch is best for those who prefer a beefier structure that won’t be easily moved. Use 1/4 inch plywood for the skin on both the inside and out. The exact dimensions of the cold frame itself depends more upon your personal preference and how much you want to grow.
Build the walls using 1/4 inch plywood. Line it with 1 1/2 – 2 inch wide rigid foam insulation. That will keep it snug no matter what cold the winter throws at you. Basically, you’re creating a sandwich with plywood and foam insulation. To prevent moisture from finding its way to the center, apply a bead of caulk along the edge before screwing down each of the pieces of plywood.
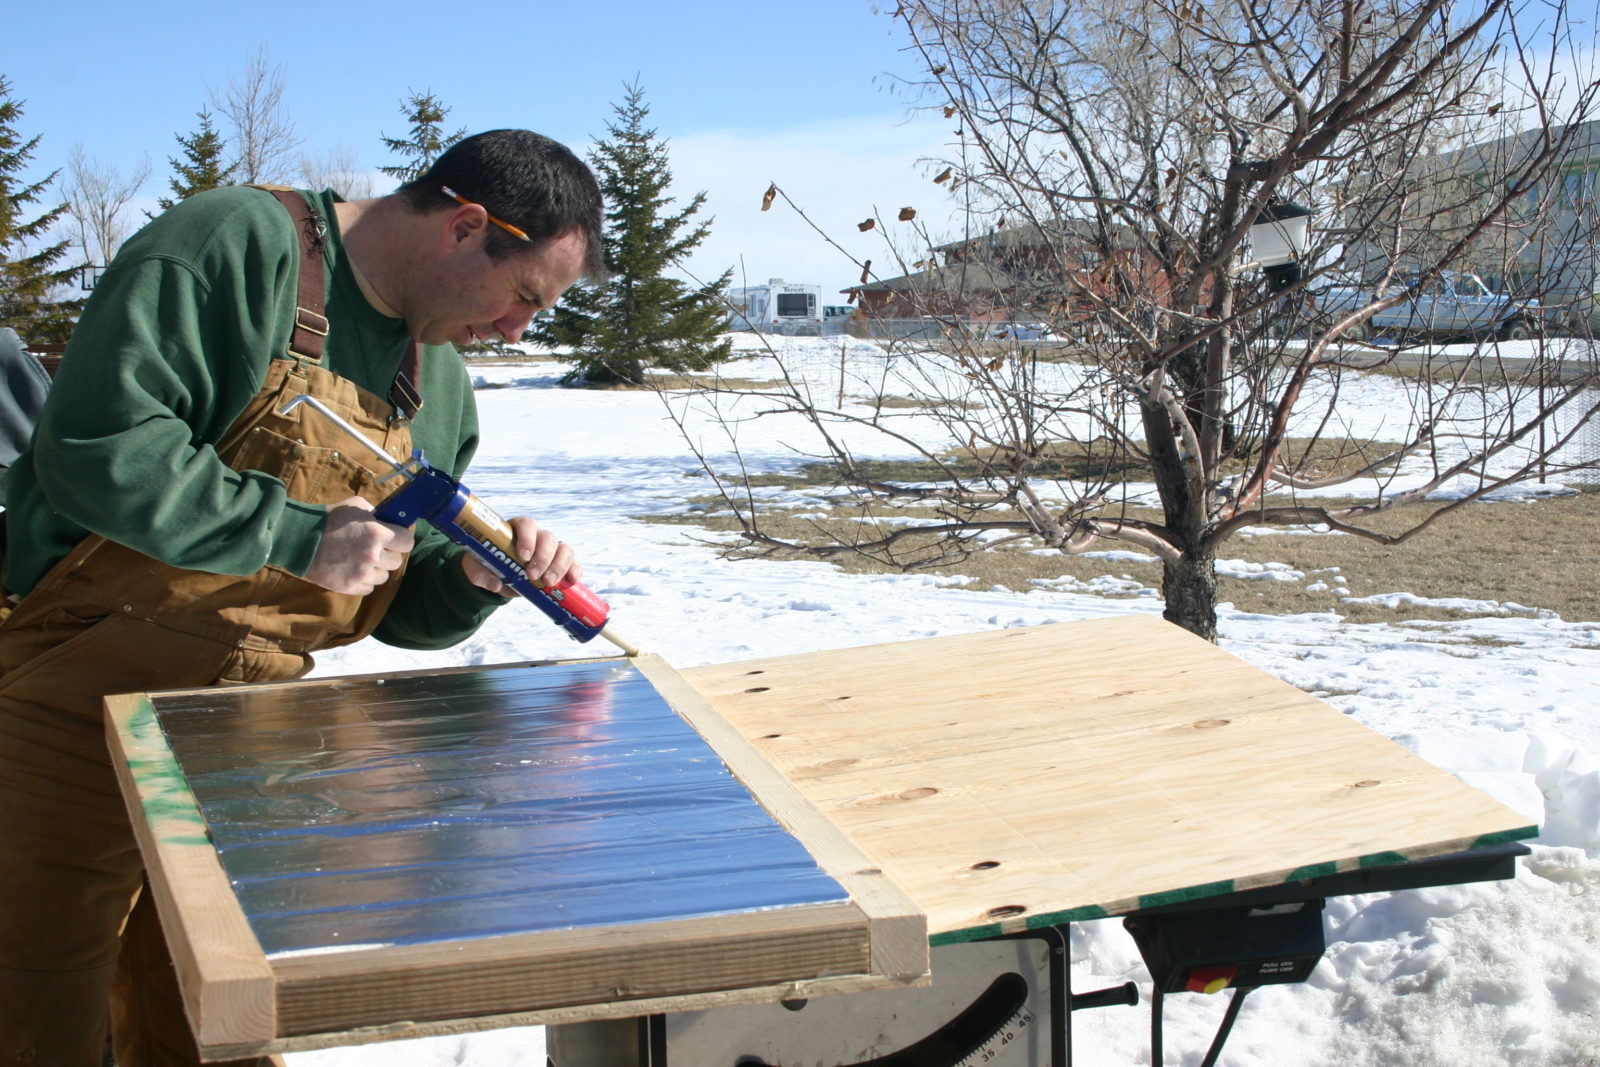
Use liquid nails or construction adhesive before fixing screws – photo by Amy Grisak
A good size for a winter cold frame
When determining size, follow common sense guidelines. Make sure it is not so big that you can’t reach to the back of it without falling inside. I recommend a cold frame size of 3 feet by 8 feet. That’s bigger than you might think. Even at that, you’ll need several hands to move one that size into place.
The other consideration is the height of the box. Plan on having a front wall that’s at least a foot above the ground. It works best if at least 6 inches of the box are buried below the soil line. That means the front wall should be 18 inches tall. If you wish to bury it deeper, make it taller.
For maximum solar efficiency, it’s a good idea to create an angle to the lid. This allows the cold frame to capture more of the precious rays, particularly in the late winter and early spring. To create this natural slope, the back of the box needs to be taller than the front. If the front is a 18 inches high, shoot for around 24 inches in the back. The angle doesn’t have to be severe. Just enough to best utilize the ever-increasing sunshine while giving the plants ample growing space.
Plastic or glass?
For the lid, a popular choice has long been old windows because glass allows the greatest UV transmission. Glass is also often cheap, or free. The primary drawback is it can break either in a hail storm or by accident. If small children are a factor, there may be a safety factor in using glass. If that is your situation, go with plastic to reduce the risk of injury.
Rigid plastic or polycarbonate sheeting (usually found at a local home improvement store) works well for this type of cold frame. 6-mil greenhouse sheeting can be used for many season extending applications. Personally, I prefer something more durable. Whatever is selected, cut it to size. It can also be purchased precut. Attach the sheeting to a frame and then affix it to the body of the cold frame.
Putting the cold frame in place
Taking advantage of every moment of sunshine is one of the primary objectives in creating a winter cold frame. So, the cold frame must face south.
To keep the frost from finding its way into the cold frame’s interior, dig a trench around the cold frame’s perimeter. At a minimum, the trench should be at least 6 inches deep, although in colder climates plan on going deeper. Once the trench is dug deep enough and wide enough, carefully lift the cold frame and place it in the soil. Replace the soil both inside and out.
Configuring the heat source
A traditional hot bed (a cold frame with a heat source) often utilizes a heating cable in the soil to keep plants warm. But truthfully, this often isn’t enough to weather the truly cold nights. The other option is to use a single, 75 watt halogen lightbulb. Incandescent bulbs also create heat, but I prefer halogen because it doesn’t burn out as quickly.
Some people place a small portable lamp inside the cold frame when extra heat is needed. Alternatively, attach a single bulb fixture to the back of the cold frame. Be sure to keep it several inches from anything flammable, including the wooden structure itself.
Whatever the heat choice, cover the connection between the light plug-in and the extension cord to prevent snow or water from potentially shorting it out, and always, always, always plug it into a Ground Fault Circuit Interrupter (GFCI) outlet. Water and electricity do not mix, but if you are vigilant about keeping everything dry, this situation is safe.
Planting inside the cold frame
Once the cold frame is set in place, it’s almost time to plant. If you’re planting in the middle of winter, allow the cold frame to be in place at least a week before you plant. Even spinach and radishes require at least 35 degrees F to germinate, although 40 degrees F is better.
When choosing crops, focus on cool season vegetables such as lettuce, spinach, chard, carrots, and radishes. Amend the soil within the cold frame just as you would your garden soil, and plant the entire area with the same spacing you plant in any other garden.
What you decide to plant is personal. If you are itching for the spicy crunch of radishes, plant a corner of those. If you can’t stand buying greens at the grocery store, plant more of those. Cover the seeds with soil, water lightly, and close the lid.
Tending your plants
Once the plants are growing, they’ll need watering, although not nearly as much as during the spring summer. Depending on temperature, this might be only once a week, but judge by the feel of the soil within the first 1/2 inch of soil. If it’s dry, give it a light watering.
One of the greatest risks of growing in a cold frame is too much of heat. If the temperature is above freezing and the sun is shining, the internal temperature of the cold frame can shoot up high enough to scorch plants. Even on cool days, open the cold frame at least a few inches. Many gardeners prop open the lid with a stick. There are temperature triggered openers at your DIY store which will automate venting, which is an enormous benefit for those who aren’t home all day to watch the movement of the sun.
Keeping plants warm at night
At night, even if the temperature is above freezing, it’s still a wise to turn on the light until those temperatures are routinely close to 40 degrees F. The additional warmth encourages growth.
For particularly chilly nights, place a blanket or two over the lid to help hold in the heat. If the walls of the cold frame are insulated, and the lid isn’t, this weak spot can doom your plants. In prolonged cold or a blizzard, keep the blanket on during the day, as well. Although light is probably the most critical aspect of growth, a couple of days under this dark protection won’t significantly affect the plants.
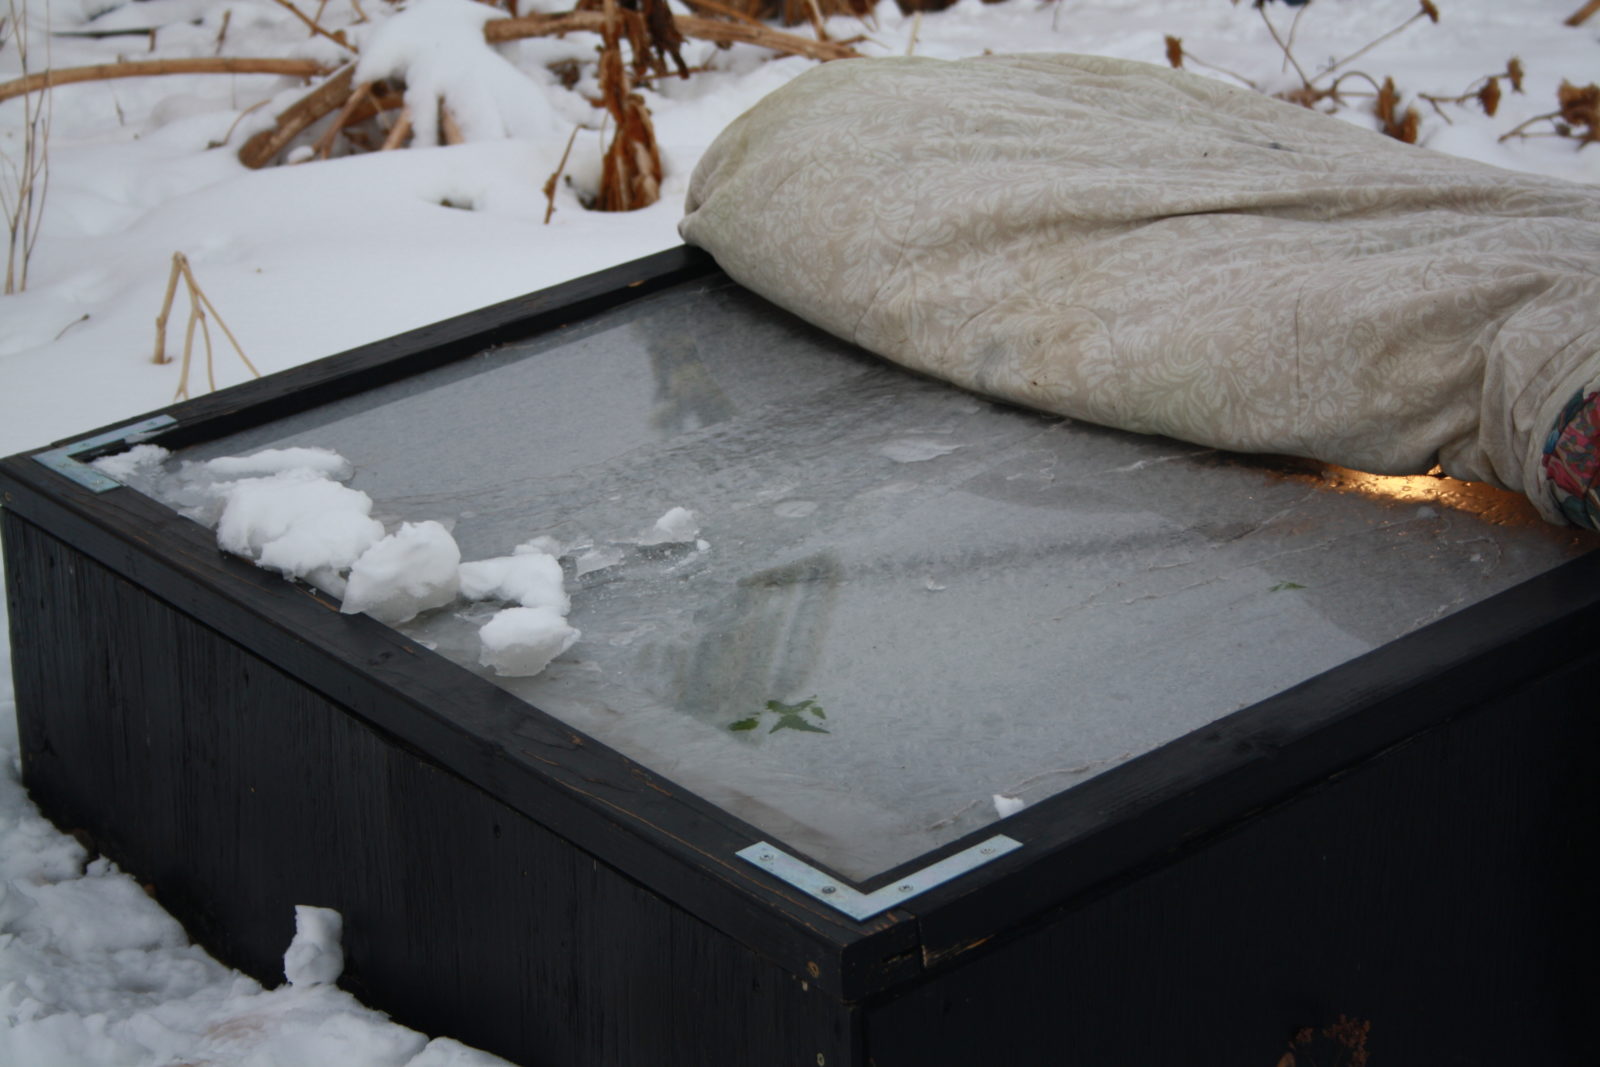
Winter cold frame with blanket rolled up – photo by Amy Grisak
As the season progresses, you won’t use the light nearly as often, but it’s always nice to know you have it available for a late season cold snap. And, as the days lengthen and warm, the lid can stay open most of the time, sometimes only needing to be closed on cold nights.
Use the winter cold frame at the end of the season
It’s wonderful to be able to start plants months earlier than in the traditional garden, but the winter cold frame is equally useful at the end of the growing season. Mature vegetables can withstand a considerable amount of frost. Spinach, for example, will survive a 20 degree F night with no damage. A cold frame with insulation and a heat source is the key to extending the season.
As with winter gardening, the limiting factor is sunlight. For those intentionally planting to be able to harvest as long as possible into the fall and winter, aim to seed the plants so there’s enough time for them to reach a reasonable size while there is more than 10 hours of sunlight. Once the amount of sunlight dips below that amount, growth drops off and you’re mostly harvesting without substantial new growth.
When to plant the winter crop
To determine when to plant in the summer for a late season crop, look at the back of the seed packet. It will tell you how many weeks until maturity. Add a couple more weeks to mitigate for the waning sunlight. As an example, if lettuce is 4 weeks, plant it in early to mid-August to give it plenty of time to mature.

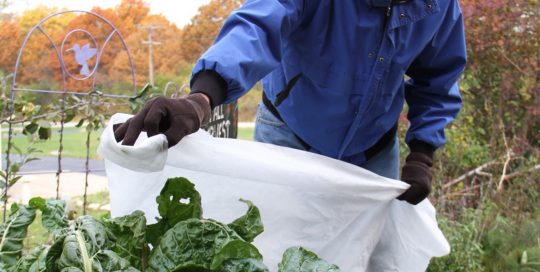
Harvesting greens in the winter cold frame – photo by Amy Grisak
Once the weather shifts, close the lid at night. At the beginning of the season, the warmth of the ground will typically be enough to keep the plants safe. But as the temperatures dip into the 20s or colder, turn on the light for additional protection.
At some point, plants will stop growing. For some, such as spinach, chard, and kale, leave them in the ground with the box covered and blanket over the top. This is often enough to carry them through until the days with sunlight begin to lengthen again. It is not unusual for these plants to resume growth. Leave carrots in the ground. Harvest them as needed throughout the winter.
Long-term winter gardening solution
It might take a half a day to build a winter cold frame. But, the effort is repaid with years of season extending capabilities. When the time of spring planting is accelerated or fall harvesting is delayed, there’s more time to enjoy your garden’s bounty – and less reliance on the supermarket’s wares.
Related Featured Articles

Related Videos

Related Blogs
Here’s more information about gardening that you’re going to want

Watch a Gardening Video

Learn About Osmocote Products

Read a Gardening Blog